
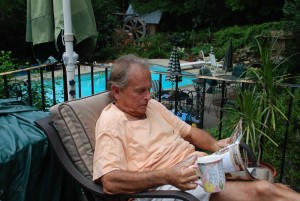
Enjoying sunshine in Roswell, GA
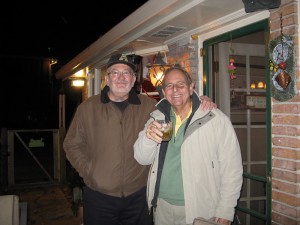
Fred with brother-in-law Tom Rhyne
 Fred A. Brown passed away at home, surrounded by family, on the morning of Saturday, December 29, 2012. Graveside services were held Monday, December 31, 2012 at 3:00 pm at Bonaventure Cemetery, 330 Bonaventure Road, Savannah, GA.
He was born in 1941 and raised in the Bronx, NY by his parents Fannie and Joseph Brown. His two siblings are Rosann Brown Kalish and Dr. Sydney Brown. Fred celebrated his Bar Mitzvah in 1954, and proudly served his country in the Army from 1959 to 1962.
He attended Columbia College in Columbia, SC where he majored in English and drama, earning honors in the theater program in three separate years.
During his business career Fred became an executive in the children’s clothing industry. He was founder and president of KIDS (Kids In Distressed Situations) which was an industry-wide charity that provided clothing, shoes, and toys to needy children in America and abroad. He later started his own company, America’s Lighting Depot, in Atlanta, GA.
He was one of the founders of the South Carolina Junior Tennis League, and enjoyed playing tennis his entire life.
 A generous, giving, and loving man, he treated people with respect whenever he met them, and friends he made became friends forever, whether he lived in Palos Verdes, CA; Columbia, SC; Chattanooga, TN; Marietta, GA; or Bluffton, SC. Fred was funny and loved to laugh and joke, often laughing at his own jokes.
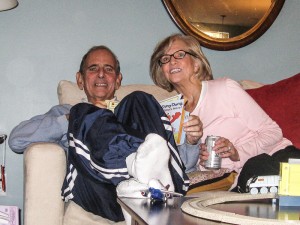
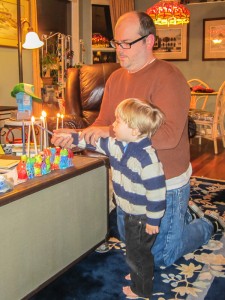
He is survived by his devoted wife Nancy, his son Marc Brown and wife Betsy, his daughter Lori and partner Janet, and his son Philip and wife Geneva. He is also survived by two grandchildren, Max and Levon, and his faithful canine companion Big Mac Brown.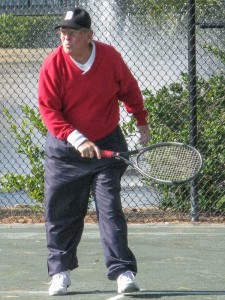
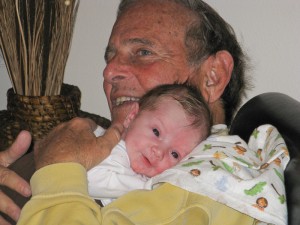
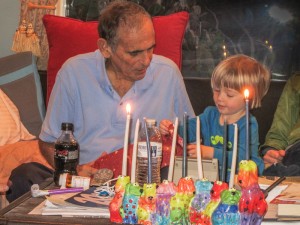
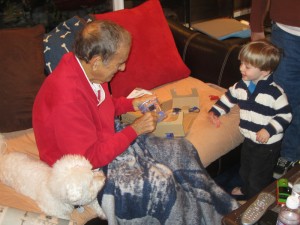
Fred with newborn Levon
Fred Brown was a man of great integrity and kindness; he was devoted to his family and friends. He lived and died with dignity.


Charley the Blue Jay
Billie tried to get Jay to perch on her hand, but no dice! He didn’t panic when she held out her hand, but he wouldn’t perch there either. Perhaps he was looking for some food as reward for touching a human. At any rate he stayed with us a bit longer until he seemed to be convinced that we had nothing to feed him, and then he flew away.
You can see larger portraits of Charley by clicking on the photo above and the one at right.